Decoding US Visa Photo Requirements: A 2024-2025 Guide
Applying for a US visa can be a complex process, and one often overlooked but crucial aspect is the visa photo. A seemingly minor error in your photo can lead to significant delays or even rejection of your application. This guide provides a detailed breakdown of the US visa photo requirements for 2024-2025, ensuring your application process is as smooth as possible.
Understanding the Core US Visa Photo Requirements
The US Department of State has specific guidelines for visa photos, applicable across various visa types. Adhering to these specifications is paramount to avoid unnecessary complications. Let's explore these core requirements in detail.
Size and Dimensions
The required photo size is 2x2 inches (51x51 mm). The applicant's head must be between 1 inch and 1 3/8 inches (22 mm and 35 mm) from the top of the head (including hair) to the bottom of the chin. It’s important that the photo accurately represents your head size within these specified dimensions.
Background
The photo must have a plain white or off-white background. Ensure there are no shadows, patterns, or distracting elements on the background. A clean, uniform background is essential for easy identification.
Lighting and Resolution
Photos must be taken in even lighting, without shadows or glare on the face or background. Uneven lighting can distort your features and lead to rejection. Digital images should be at least 600x600 pixels and in color to maintain clarity and detail.
Pose and Expression
The applicant must face the camera directly, with a neutral expression. Looking straight ahead allows for accurate biometric analysis. Smiling is generally discouraged, but a natural, slight smile may be acceptable. Avoid exaggerated or unnatural expressions. Both ears should be visible, or at least the areas where the ears would normally be, to provide a clear profile.
Attire and Accessories
Normal day-to-day attire is acceptable. However, uniforms or clothing that resembles a uniform should not be worn, as they can create confusion about your current status. Hats and head coverings are not allowed unless worn daily for religious reasons. In these cases, the head covering must not obscure the face. Eyeglasses are no longer generally allowed in visa photos unless they are required for medical reasons (e.g., post-surgery). If eyeglasses are medically necessary, a statement from a medical professional may be required to verify the need.
Visa Type Specific Guidance
While the core requirements remain consistent, some visa types might have unique considerations. Here's some guidance tailored to specific visa categories:
- B1/B2 Visitor Visa: Focus on a neat, professional appearance, reflecting your intention as a visitor. Avoid overly casual attire that may suggest other intentions.
- Student Visa (F1/J1): Adhere strictly to all standard guidelines, ensuring the photo accurately reflects your current appearance as a student. This helps verify your identity upon arrival in the US.
- Work Visa (H1B, L1): A professional and neutral photo is recommended, reflecting the purpose of the visa as a work-related document. Choose attire suitable for a professional setting.
Common Mistakes to Avoid
Several common mistakes lead to visa photo rejections. Being aware of these pitfalls can save you time and prevent unnecessary delays.
Incorrect Size/Dimensions
Using a photo that's not 2x2 inches or doesn't meet the head size requirements. Always double-check the dimensions before submitting.
Improper Background
Backgrounds that are not white or off-white, or that contain shadows or patterns. Use a plain white wall or sheet as a backdrop.
Poor Lighting
Photos with shadows on the face or background, or with glare. Ensure even lighting from the front to avoid distortions.
Unacceptable Facial Expressions
Smiling broadly, squinting, or having a generally unnatural expression. Practice a neutral expression in front of a mirror.
Wearing Prohibited Items
Wearing hats, head coverings (without religious justification), or eyeglasses (without medical justification). Remove any prohibited items before taking the photo.
Using Old Photos
Submitting a photo that doesn't accurately reflect your current appearance. Ensure the photo is recent and reflects your present look.
DIY vs. Professional Services
Deciding whether to take your visa photo at home or use a professional service depends on your comfort level and resources. Here's a comparison to help you choose:
DIY (Do-It-Yourself) Options
- Pros: Cost-effective, convenient, allows for multiple attempts until you get it right.
- Cons: Requires careful attention to detail and a thorough understanding of the guidelines. There's a higher risk of non-compliance if instructions are not followed precisely.
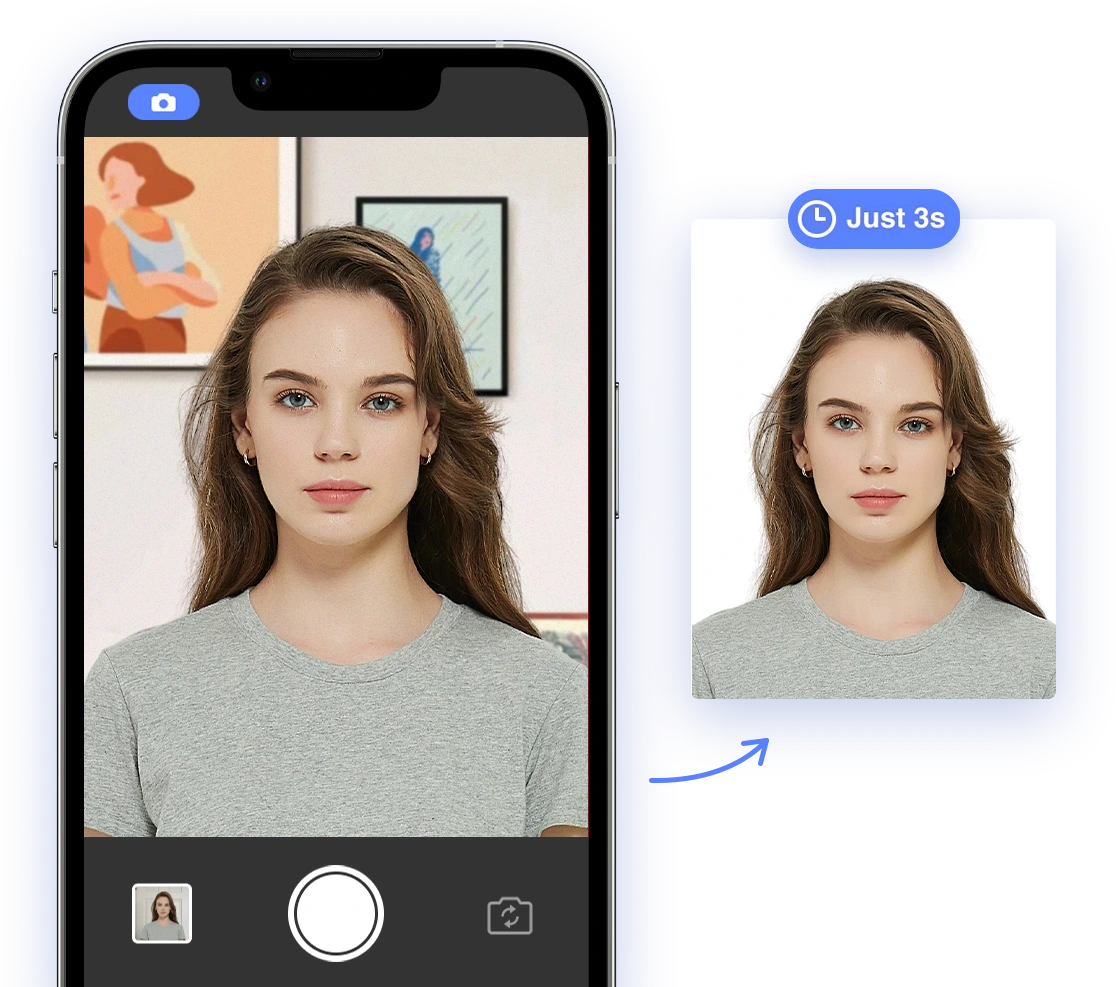
To take a compliant photo at home, use a smartphone or digital camera. Ensure proper lighting, a plain white background, and adherence to all pose and attire requirements. Consider using apps like AI Passport Photo to automatically adjust the photo to meet the required specifications. This can help ensure compliance without the expense of a professional photographer.
Professional Photo Services
- Pros: Expertise in meeting requirements, often offers a guarantee of compliance, saving you time and potential stress.
- Cons: More expensive than DIY options and requires travel to a photo studio or passport acceptance facility.
Consider professional services if you're unsure about meeting the requirements yourself or if you need a guaranteed compliant photo. This can be a worthwhile investment, especially if you have had photos rejected in the past.
Printing and Submission Guidelines
If you choose to print your digital visa photo, adhere to these guidelines to maintain quality and compliance:
Paper Type
Use high-quality photo paper with a matte or semi-matte finish. Glossy paper can cause glare and may lead to rejection.
Printing Resolution
Print at a resolution of at least 300 DPI (dots per inch) to ensure clarity and detail in the printed photo.
Cutting
Carefully cut the photo to the required 2x2 inch dimensions using a ruler and sharp scissors or a paper cutter. Inaccurate cutting can lead to rejection.
When submitting the photo, ensure it is not damaged, creased, or stapled. Follow the specific submission instructions provided with your visa application package. Improper handling can damage the photo and lead to delays.
2024-2025 Updates and Changes
As of 2024, there are no major changes to the core US visa photo requirements. However, it's always recommended to check the official US Department of State website for the most up-to-date information. Staying informed ensures your application is based on the latest guidelines. You can find more information on the US Department of State website.
Addressing Concerns About Dark Eyes
Dark eyes are generally acceptable in US visa photos, provided that the applicant's facial features are clearly visible. Avoid shadows or glare that obscure the eyes. If the eyes appear too dark, adjust the lighting or retake the photo to ensure clarity. For further guidance, you can also review our article, Are Dark Eyes Acceptable in Passport Photos?, for more information.
By carefully following these guidelines, you can ensure your US visa photo meets all requirements, minimizing the risk of delays or rejection. Remember to prioritize accuracy and clarity for a smooth visa application process. For the best results and peace of mind, consider using a professional service or an AI-powered tool like AI Passport Photo to guarantee compliance and streamline your application.