Understanding the Official U.S. Passport Photo Requirements Regarding Eyeglasses [2024-2025]
The U.S. Department of State has specific guidelines regarding eyeglasses in passport photos. Understanding these regulations is the first step to ensuring your photo is compliant.
As of 2016, the U.S. Department of State
generally no longer allows eyeglasses in passport photos. The primary reason for this is to avoid issues with glare and reflections that can obscure the applicant's eyes. However, there can be exceptions based on medical necessity. If eyeglasses are medically required, a signed statement from a medical professional may be needed, although this is evaluated on a case-by-case basis.
When Are Glasses Medically Necessary?
Medical necessity typically refers to situations where an individual requires glasses to see clearly and cannot function without them. This must be documented by a qualified medical professional.
Acceptable Types of Glasses (If Medically Necessary)
While eyeglasses are generally not allowed, understanding the acceptable types can be helpful if you have a documented medical exception. Keep in mind that even if medically necessary, approval isn't guaranteed.
- Prescription Glasses: Typically, prescription glasses are the most common type for which a medical exception might be considered. These must be clear and without any tints.
- Reading Glasses: Similar to prescription glasses, these might be considered if medically necessary and a person cannot adequately see without them. Documentation is key.
Even with a medical exception, the reviewing agent has final discretion. Therefore, taking a photo without glasses is highly recommended, if possible.
Unacceptable Types of Glasses
Knowing what not to wear is just as important as knowing what is acceptable. Avoid these types of glasses:
- Tinted Lenses: Glasses with tinted lenses or sunglasses are strictly not allowed, as they obstruct the natural eye color and can interfere with biometric identification. For more information on general guidelines, see our article on Passport Photo Dress Code: What to Wear for US Approval [2024 Guide].
- Dark or Photochromic Lenses: Lenses that darken automatically in sunlight (photochromic lenses) are also unacceptable. They must remain clear during the photo.
- Frames Obscuring Eyes: Thick or oversized frames that obscure any part of the eyes are not permitted.
Potential Issues with Reflections or Shadows
Even if glasses are medically required and are of an acceptable type, reflections and shadows can still cause issues that lead to rejection. It's crucial to address these problems proactively.
- Reflections: Reflections on the lenses can obscure your eyes, making it difficult to see them clearly. This is a primary reason for rejection.
- Shadows: Shadows from the frames or surrounding lighting can also obscure the eyes or facial features, making the photo non-compliant.
Tips for Minimizing Glare and Ensuring Clear Visibility
If you have a medical exception for wearing glasses, follow these tips meticulously to minimize glare and ensure clear visibility of your eyes. These tips will improve the chances of approval.
- Proper Lighting: Use soft, diffused lighting to reduce reflections. Avoid direct sunlight or harsh overhead lights, which can create glare.
- Angle: Adjust your angle slightly to avoid direct light reflecting off the lenses. Experiment with different head positions to find the optimal angle.
- Clean Lenses: Ensure your lenses are thoroughly clean and free of smudges, fingerprints, or any other imperfections that can cause glare.
- Frame Style: If possible, choose glasses with thinner frames that are less likely to cast shadows or obstruct your facial features.
How to Take a Compliant Photo at Home (If Glasses Are Absolutely Necessary)
Taking a compliant photo at home can be convenient, but it requires attention to detail, especially when glasses are involved. Here’s how to do it:
- Check Requirements: Thoroughly review the official U.S. Department of State guidelines on passport photos to ensure you are up-to-date on all regulations. You can find detailed information on the U.S. Department of State website: U.S. Department of State - Passport Photos.
- Medical Documentation: If wearing glasses due to medical necessity, obtain a signed statement from a medical professional to include with your application.
- Lighting: Use natural, diffused light. Position yourself near a window, but avoid direct sunlight.
- Background: Use a plain white or off-white background. A simple white sheet or wall works well. See also Decoding the US Passport Photo Background: Colors, Requirements & AI Solutions [2024-2025] for detailed instructions.
- Positioning: Face the camera directly and maintain a neutral expression. Keep your eyes open and visible. For advice on posing, check out Passport Photo Advice for Men: Tips to Look Your Best.
- Take Multiple Shots: Take several photos from slightly different angles and under slightly different lighting conditions to increase your chances of getting a perfect shot. Review these photos on a large screen to assess clarity and compliance.
When Glasses Must Be Removed
In most cases, to ensure compliance, it is best to remove glasses unless you can provide a verifiable and valid medical certificate deeming them absolutely necessary. Removing glasses eliminates the risk of rejection due to glare, shadows, or obscured eyes.
Leveraging AI-Powered Tools to Assess Your Photo
AI-powered tools can be invaluable in assessing your photo for compliance. They can automatically detect and flag potential issues, such as glare or shadows, helping you make necessary adjustments before submitting your application. See also
Digital Photo Analyzers: Revolutionizing Compliance Checks for Official Documents [2024-2025] for more information.
- AI Passport Photo: This app uses advanced AI algorithms to check your photo against official requirements, including analyzing glare, shadows, and facial feature visibility. It can automatically adjust the photo to meet compliance standards, saving you time and hassle. You can find it at AI Passport Photo.
Consider using such tools as a final check before submitting your application, even if you’ve followed all other guidelines.
Where to Find Professional Passport Photo Services
If you prefer professional help, choose a service that is knowledgeable about and understands passport photo regulations, specifically regarding eyeglasses. Not all services are equally informed.
- Pharmacies and Retail Stores: Many pharmacies and retail stores (e.g., Walgreens, CVS, Walmart) offer passport photo services. Inquire whether their staff are familiar with the latest regulations regarding glasses and whether they can guarantee compliance. For Walgreens, you may also benefit from Amazing: Walgreens Passport Photo Coupon - 97% off.
- Professional Photo Studios: Professional photo studios are generally knowledgeable about passport photo requirements and can provide expert assistance, including adjusting lighting to minimize glare and shadows. Confirm their expertise before committing.
What to Do If Your Passport Photo Is Rejected
If your photo is rejected, don’t panic. Carefully determine the reason for rejection and take corrective action. A rejection is not a permanent obstacle. Our article
What if my passport photo is rejected? may help you resolve issues.
- Review the Rejection Notice: Carefully read the rejection notice to understand the specific reason why the photo was rejected. This will guide your next steps.
- Take a New Photo: Follow all the tips and guidelines in this article to take a new, compliant photo. Pay close attention to lighting, background, and glasses (or lack thereof).
- Consider Professional Help: If you’re struggling to take a compliant photo on your own, seek assistance from a professional passport photo service. They can provide expert guidance and ensure your photo meets all requirements.
Common Questions and Concerns
- Can I wear glasses if I have a medical condition? Yes, it might be possible with a signed statement from a medical professional, but approval isn't guaranteed. Taking a photo without glasses is recommended whenever feasible.
- What if my glasses cause glare? Adjust lighting and angle, clean your lenses thoroughly, or, if possible, remove glasses altogether.
- Are there exceptions for children? The same rules apply to children and adults. For more details, review Ultimate Guide to US Passport Photo Requirements for Babies and Infants (2024-2025).
AI Passport Photo: Your Solution for Compliance
AI Passport Photo offers a seamless and reliable solution for obtaining compliant passport photos, especially when dealing with the complexities of eyeglasses. With its AI-driven technology, the app ensures your photos meet all official requirements, including those related to glare, shadows, and facial feature visibility. Take the stress out of your passport application and achieve guaranteed compliance with AI Passport Photo. Get started today and ensure your passport photo is perfect!
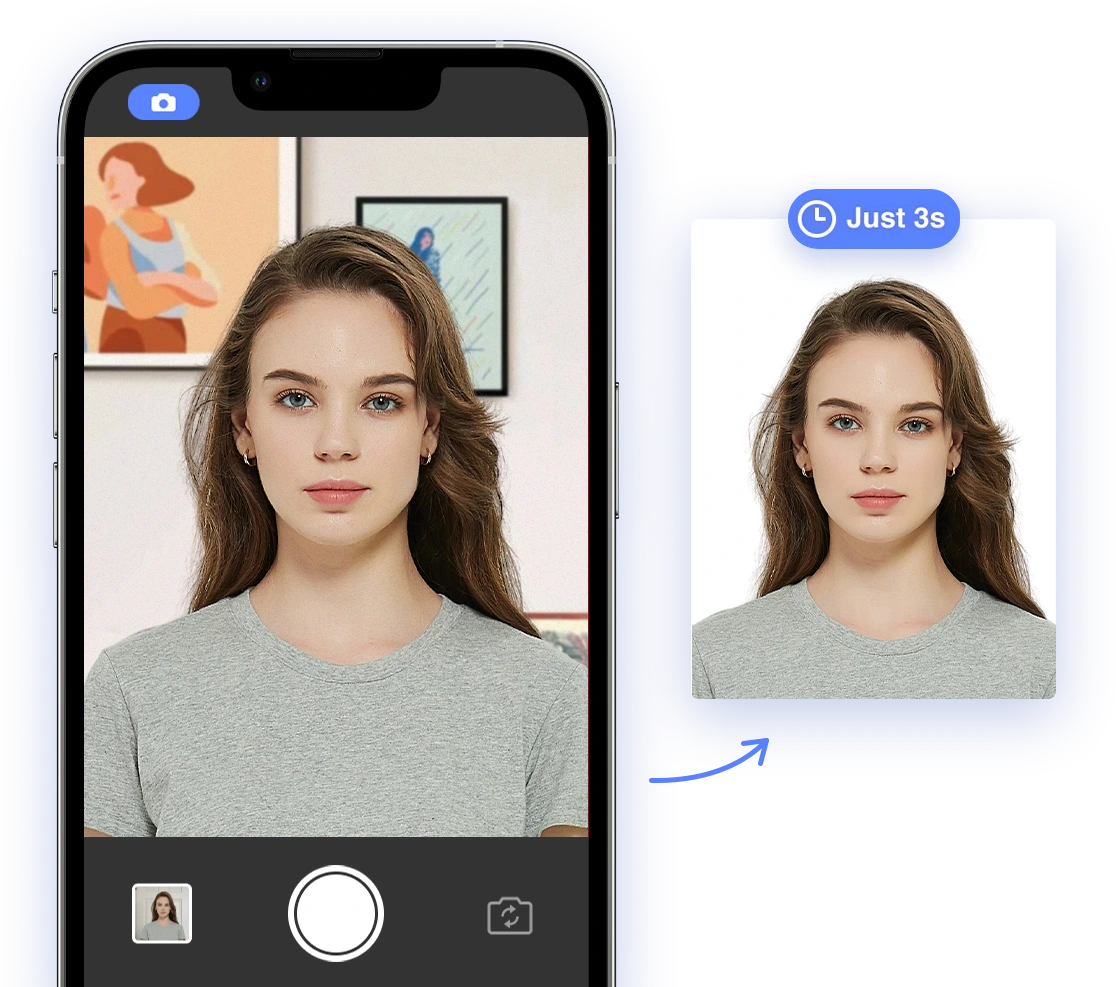
AI Passport Photo can help you to create a compliant passport photo at home!