Applying for a US passport can feel like navigating a maze, especially when it comes to the photo! Are you dreaming of that international getaway but dreading the hassle and expense of getting a compliant passport photo? What if you could ditch the studio, save time and money, and take a perfect passport photo right in the comfort of your home?
This guide is your passport to stress-free passport photos in 2026. We'll break down the updated requirements from the US Department of State, provide practical DIY tips, and show you how AI-powered tools can ensure your photos meet all biometric and technical standards. Get ready to say goodbye to rejection fears and hello to a smooth passport application process!
## Understanding 2026 US Passport Photo Requirements
To ensure your U.S. passport photo is acceptable in 2026, it must adhere to specific requirements. Here's a breakdown of the key guidelines:
* **Color:** The photo must be in color.
* **Size:** The photo must be 2 x 2 inches (51 x 51 mm).
* **Paper Quality:** It needs to be printed on thin, photo-quality paper.
* **Recency:** The photo must be taken within the last six months, reflecting your current appearance.
* **Background:** A plain white or off-white background is required, free of shadows, textures, lines, or objects. You should position yourself several feet away from the background. See this video for a quick guide: Easy iPhone Passport Photo tip!
* **File Format and Size (for online renewal):** If you're uploading a digital photo for online renewal, it should be a JPEG file. The file size must be 240 kB (kilobytes) or less.
### Appearance and Pose
* **Facial Expression:** A neutral expression is required. While a slight, closed-mouth smile is acceptable, showing teeth can lead to rejection.
* **Full Face View:** You must face the camera directly with a full face view.
* **Head Size:** The head size should measure between 1 inch and 1 3/8 inches from the bottom of your chin to the top of your head.
* **Attire:** Wear normal street attire. Uniforms should not be worn in the photo, except for religious attire worn daily. Head coverings are only allowed for medical or religious reasons.
### Restrictions
* **Eyeglasses:** Starting November 1, 2016, eyeglasses are generally not allowed in passport photos. You can only wear them for medical reasons, and a medical certificate may be required.
* **Hats and Headgear:** Do not wear hats or headgear that obscure your hair or hairline, unless it's for religious purposes. If a hat or head covering is worn, your full face must be visible and there cannot be any shadows on your face.
* **Headphones and Wireless Devices:** Headphones, wireless hands-free devices, or similar items are not allowed in the photo.
* **Digital Alterations:** Do not use filters or retouching tools to alter your appearance. The red-eye effect is also not acceptable.
### Facial Recognition and Biometric Compliance
* **Strict Standards:** Passport photos are now screened by facial recognition software, which means biometric compliance and strict international photo standards are essential. This is because facial recognition and strict international photo standards are essential.
* **Facial Mapping:** The software analyzes your photo by turning your face into a digital map, plotting landmark points and measuring distances to create a unique digital signature.
* **Rejection Risks:** Issues like lighting shadows, beauty filters, landmark misalignment, or pixel density can cause your photo to fail biometric standards and delay your application.
## DIY Photo Studio Setup at Home
Creating a suitable environment at home is key to capturing a compliant passport photo. Here’s how to set up your DIY photo studio:
* **Background:** Find a plain white or off-white wall. If you don't have one, use a white sheet or poster board.
* **Lighting:** Natural light is best. Position yourself facing a window, but avoid direct sunlight, which can cause harsh shadows. If natural light is insufficient, use two softbox lights or lamps with white shades, positioning them on either side of you at a 45-degree angle.
* **Distance:** Ensure enough space between you and the background to eliminate shadows. A distance of 3-4 feet is generally sufficient.
* **Camera:** Use a smartphone or digital camera with a resolution of at least 300 DPI. It may be helpful to watch How To Take a U.S Passport Photo & Print with your iPhone for tips.
## The Power of AI in Passport Photos
AI-powered passport photo tools have revolutionized the process, offering numerous benefits:
* **Compliance Checks:** AI algorithms automatically analyze your photo, ensuring it meets all official requirements, including size, background, head position, and facial expression.
* **Background Removal:** AI can accurately remove and replace backgrounds, ensuring a plain white or off-white background is present.
* **Automated Adjustments:** AI tools automatically adjust lighting, contrast, and cropping to optimize your photo for compliance.
* **Biometric Analysis:** AI can analyze your photo against biometric standards, ensuring your photo meets the requirements for facial recognition technology.
However, it's important to remember that the State Department rejects photos altered by AI tools, including beauty filters and face-editing features. Choose tools that validate photos without altering them, or those that combine AI with human expert review.
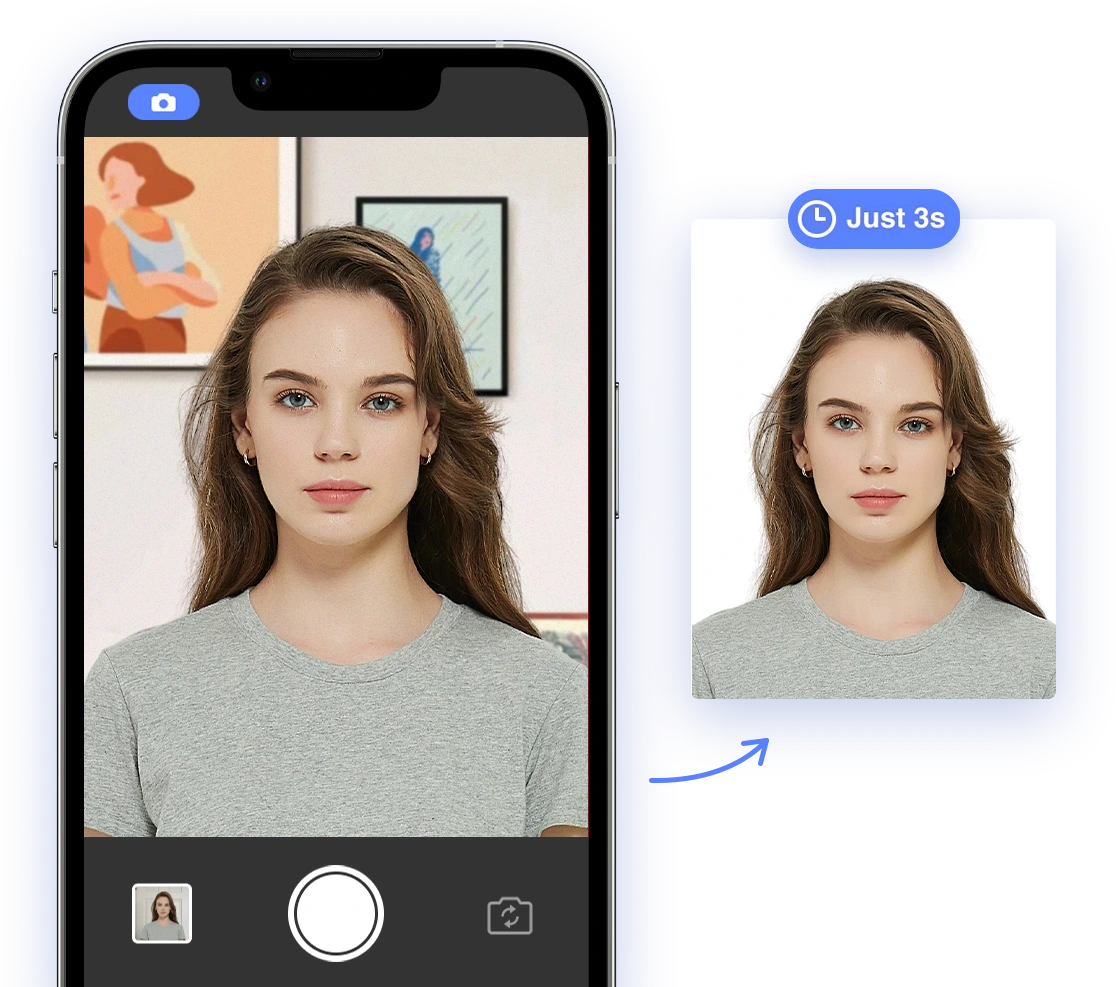
## Step-by-Step Guide: Taking DIY Passport Photos with AI Passport Photo
Here's a detailed guide on taking DIY passport photos using an AI-powered tool like AI Passport Photo:
1. **Download the App:** Download AI Passport Photo (available for iOS and Android) or access the web-based version on your computer.
2. **Choose Document Type:** Select 'US Passport Photo' from the list of available options.
3. **Take Your Photo:** Follow the app's on-screen instructions to take your photo, ensuring good lighting, a neutral expression, and a plain background.
4. **AI Analysis:** The app will automatically analyze your photo, flagging any potential issues and providing suggestions for improvement.
5. **Make Adjustments:** If the app identifies any issues, make the necessary adjustments and retake your photo until it meets all requirements.
6. **Review and Approve:** Once the app confirms that your photo is compliant, review the final result and approve it.
7. **Download and Print:** Download the compliant digital photo and print it at home or at a local photo printing service, such as Walgreens or CVS.
By following this comprehensive guide and leveraging the power of AI, you can confidently take compliant and professional passport photos at home, saving time, money, and stress on your next passport application.